The potato is one of the most widely grown and consumed crops in the world. It serves as a staple food in many countries and plays a significant role in animal feed and industrial processing. Its adaptability to various climates and relatively straightforward cultivation make it a crop of choice for both large-scale farms and home gardens.
Successful potato production depends on a combination of factors — proper soil preparation, well-timed planting, balanced fertilization, and vigilant pest and disease management. In this guide, we walk through each stage of potato cultivation so you can maximize your yield and quality.
Soil Requirements
Potatoes thrive in loose, well-drained soils that allow unobstructed tuber development. Compacted or waterlogged soils lead to misshapen tubers, increased disease pressure, and lower yields.
Key soil parameters for potato cultivation:
- Soil type — sandy loam and loamy sand are ideal; heavy clay soils should be avoided or deeply loosened before planting
- pH — slightly acidic, in the range of 5.5–6.5; excessively alkaline soils increase the risk of common scab
- Organic matter — incorporating well-decomposed compost or manure in autumn improves soil structure and nutrient availability
- Drainage — standing water is particularly harmful to potatoes, so fields with high water tables require proper drainage systems
Planting Dates
In Poland, potatoes are typically planted in April, once the soil temperature at a depth of 10 cm has consistently reached above 8 °C. Planting too early in cold, wet soil increases the risk of seed piece decay and slow, uneven emergence.
- Early varieties — can be planted from mid-March under covers or fleece, or from early April in the open field in warmer regions
- Maincrop varieties — are usually planted from mid- to late April
- Late varieties — planting may extend into early May
Monitoring soil temperature with a thermometer is the most reliable way to determine the right planting window. Weather forecasts and local agricultural advisory services can also help with timing decisions.
Seed Potato Preparation
Preparing seed potatoes before planting — a process known as chitting or sprouting — gives the crop a head start and promotes more uniform emergence.
To chit seed potatoes:
- Place them in shallow trays or egg cartons with the eye-rich end (rose end) facing upward
- Keep them in a light, cool room (around 10–15 °C) for 4–6 weeks before planting
- Healthy sprouts should be short, sturdy, and dark green or purple — long, pale sprouts indicate too little light
Chitting is especially beneficial for early varieties, as it shortens the time to emergence and can advance the harvest by one to two weeks. For maincrop varieties, chitting is less critical but still advantageous in regions with shorter growing seasons.
Planting Depth and Spacing
Correct planting depth and spacing ensure that each plant has enough room to develop a full set of tubers without excessive competition.
- Planting depth — 8–10 cm below the soil surface; shallower planting may expose tubers to light (causing greening), while deeper planting delays emergence
- Spacing between plants in the row — 30–35 cm, depending on variety and tuber size desired
- Row spacing — 60–75 cm, which provides sufficient room for hilling and mechanical cultivation
Wider spacing generally produces larger individual tubers, while closer spacing increases the number of tubers per unit area but reduces average tuber size. Adjust spacing based on the intended market — seed potato production, fresh market, or processing.
Fertilization
Potatoes have substantial nutrient requirements and respond well to balanced fertilization. They are considered a potassium-loving crop, and adequate potassium supply is essential for tuber quality, starch content, and storage life.
General NPK guidelines:
- Nitrogen (N) — 80–120 kg/ha; excessive nitrogen promotes lush foliage at the expense of tuber development and can delay maturity
- Phosphorus (P₂O₅) — 50–80 kg/ha; supports root development and early growth
- Potassium (K₂O) — 120–180 kg/ha; critical for tuber bulking, dry matter content, and resistance to bruising
Organic fertilization with well-rotted manure (applied in autumn) complements mineral fertilization and improves soil structure. Soil testing before the season helps tailor nutrient rates to actual field conditions and avoid over- or under-application.
Hilling and Weed Control
Hilling — mounding soil around the base of potato plants — is one of the most important cultural practices in potato farming. It serves several purposes:
- Prevents tubers from being exposed to sunlight, which causes greening and solanine accumulation
- Loosens the soil surface, promoting better aeration and water infiltration
- Buries small weeds, reducing competition during early growth stages
Hilling is typically performed two to three times during the season — the first time when plants are about 15–20 cm tall, and again every two to three weeks as needed.
In addition to hilling, mechanical cultivation between rows and, where necessary, herbicide application help keep weeds in check. Weed pressure is greatest during the first weeks after emergence, before the canopy closes and shades the soil.
Diseases and Pests
Potatoes are susceptible to a range of diseases and pests that can significantly reduce yield and quality if left unmanaged.
Late blight (*Phytophthora infestans*) is the most damaging potato disease worldwide. It spreads rapidly in warm, humid conditions and can destroy an entire crop within days. Preventive fungicide sprays, resistant varieties, and removal of infected plant material are the main control strategies.
Other important diseases include:
- Early blight (*Alternaria solani*) — brown spots with concentric rings on leaves
- Common scab (*Streptomyces scabies*) — rough, corky lesions on tuber skin
- Blackleg and soft rot — bacterial diseases causing stem decay and tuber rot
The Colorado potato beetle (*Leptinotarsa decemlineata*) is the most significant insect pest. Both adults and larvae feed on foliage and can defoliate plants rapidly. Control methods include manual removal (in small plots), crop rotation, and insecticide application when thresholds are exceeded.
Regular field scouting throughout the season is essential for early detection and timely intervention.
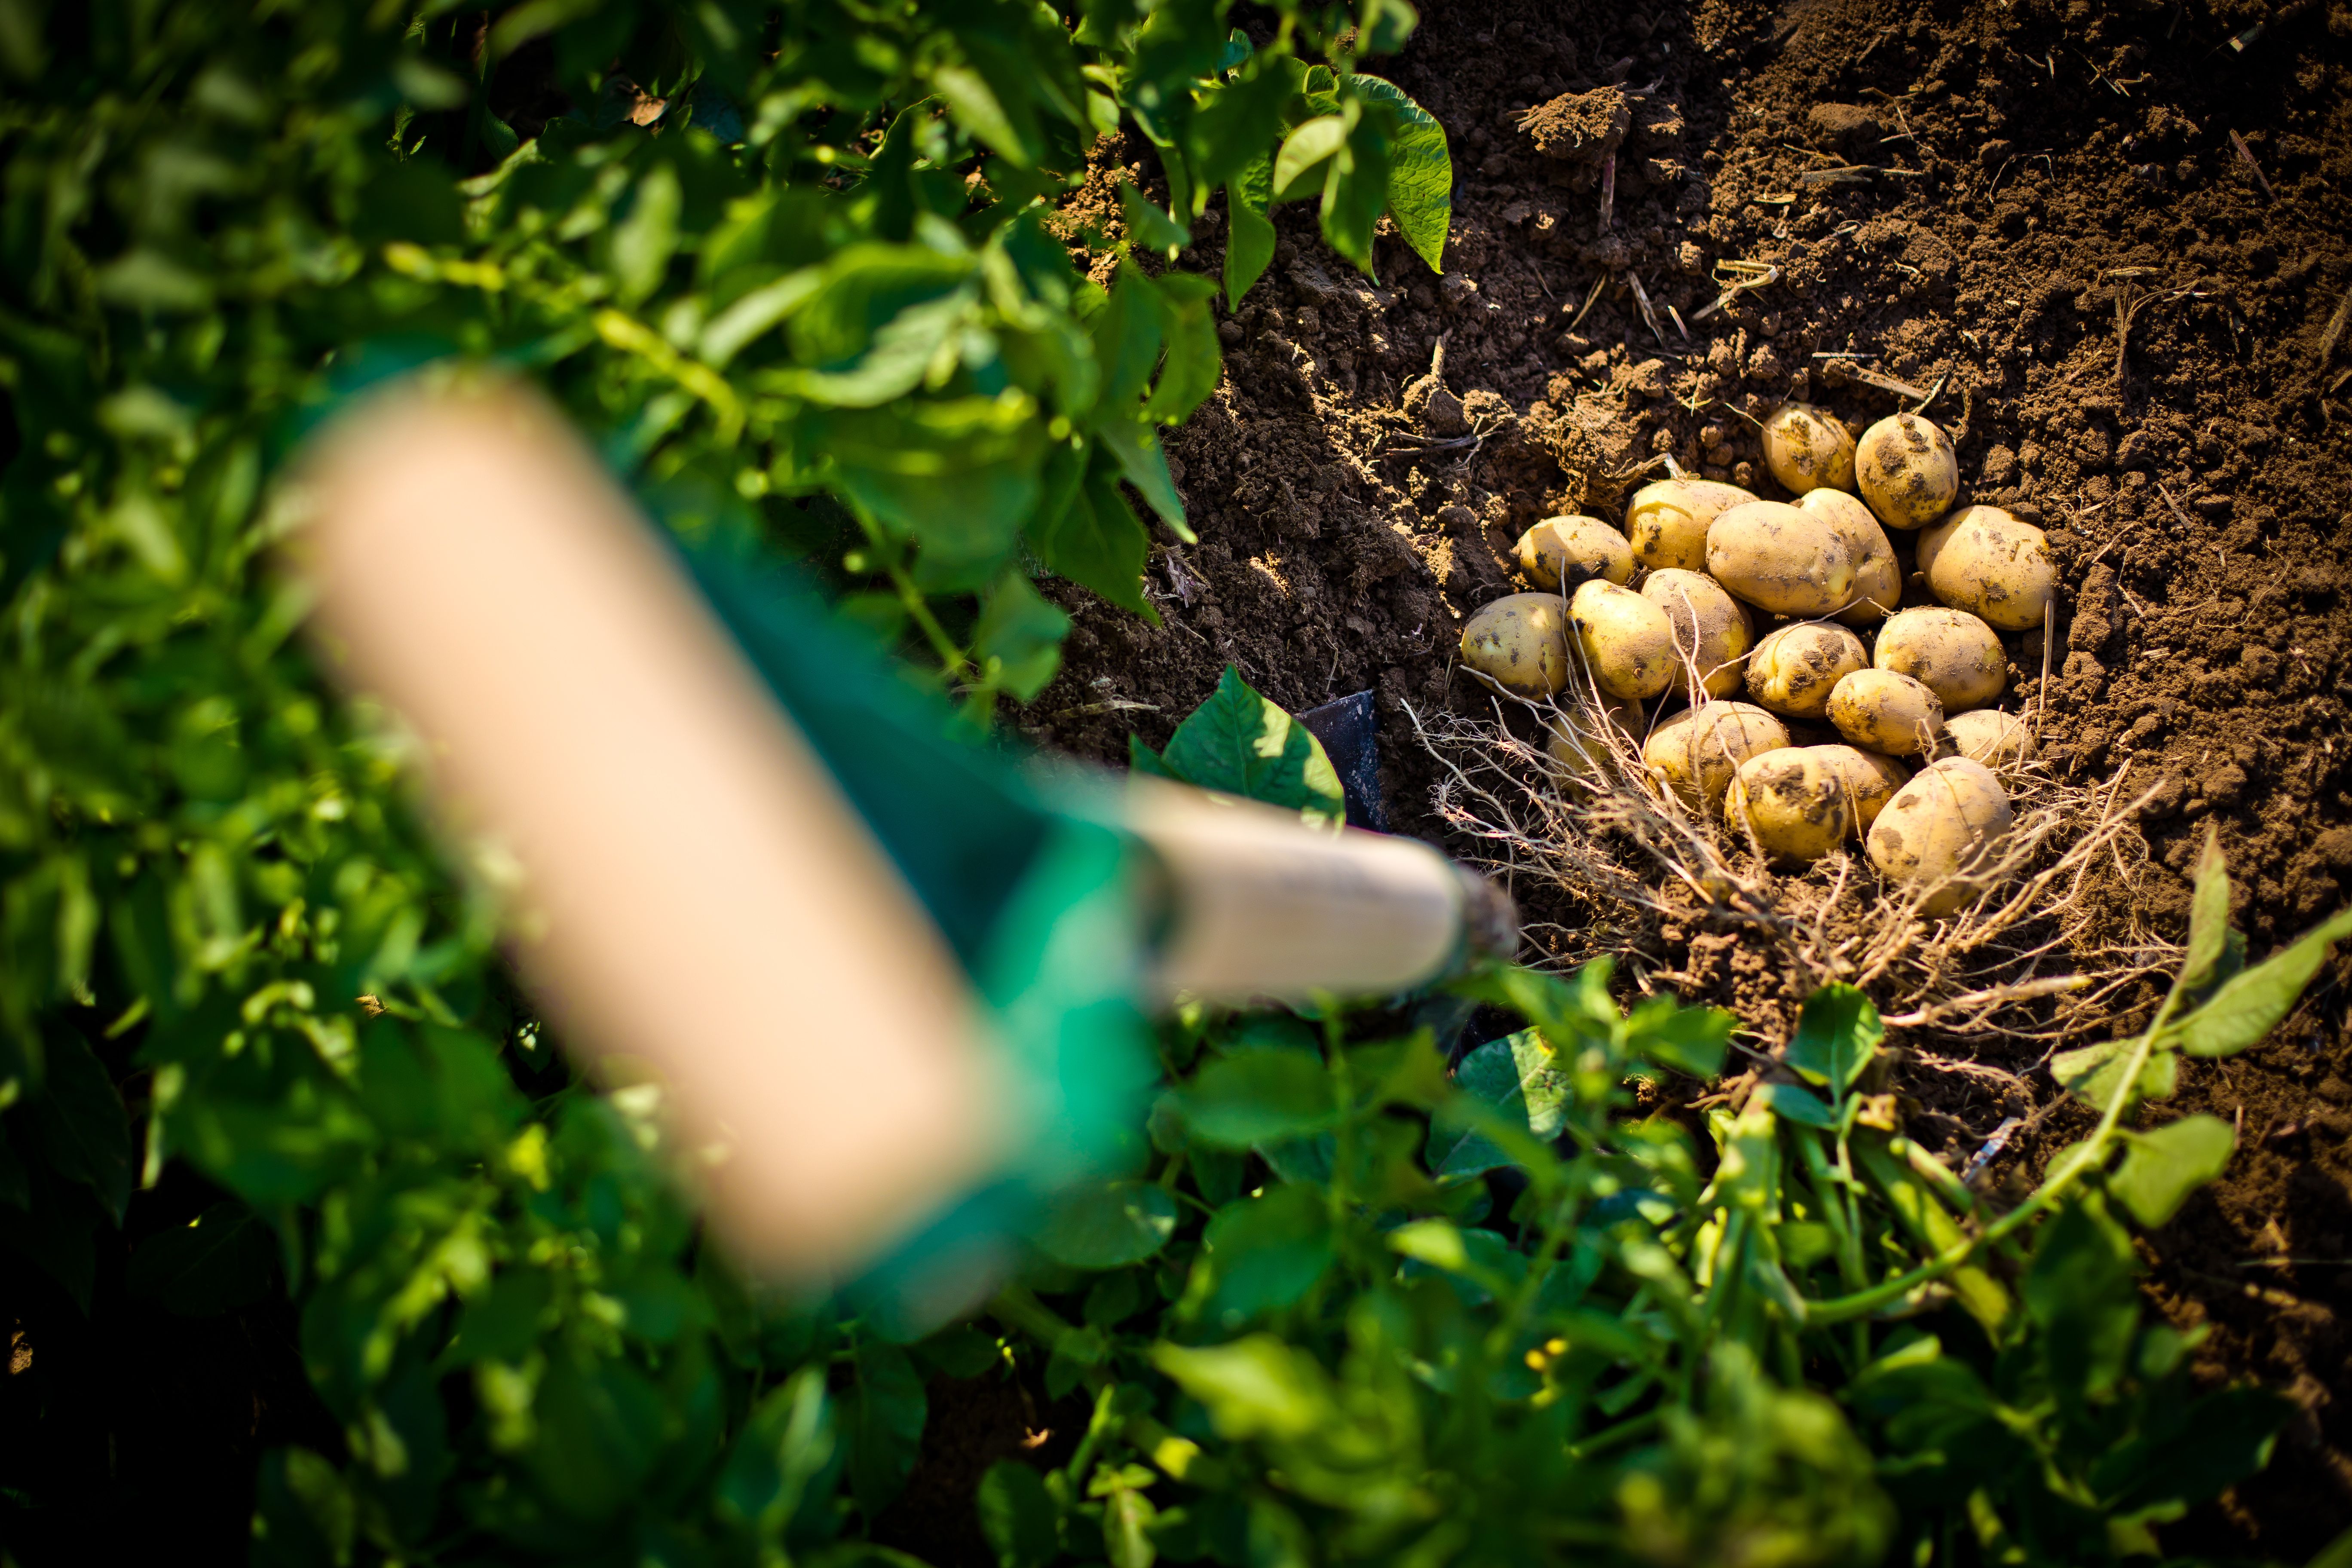
Harvest Timing
Choosing the right harvest time ensures maximum yield, good tuber quality, and optimal storage life.
Indicators that potatoes are ready for harvest:
- Foliage dieback — when the tops begin to yellow and dry down naturally, the tubers have reached maturity
- Skin firmness test — rub the tuber skin with your thumb; if the skin does not peel off easily, the tubers have set their skin and are ready for harvest
- Days after planting — early varieties are usually ready in 70–90 days, while maincrop varieties take 100–130 days
Before storage, allow harvested tubers to dry on the soil surface for a few hours (avoid prolonged sun exposure, which causes greening). Cure tubers at 12–15 °C with high humidity for about two weeks to heal minor skin wounds, then move them to dark, cool storage at 3–5 °C.
Avoid harvesting in excessively wet conditions, as wet tubers are prone to rot in storage.
Summary
Potato cultivation requires well-prepared, loose soil with a slightly acidic pH, proper planting timing, and careful attention to fertilization and disease prevention. Regular hilling, monitoring for pests like the Colorado beetle, and choosing the right harvest time are key to a successful crop.
By following these agrotechnical guidelines, you can achieve consistently high yields of quality tubers suitable for fresh consumption, processing, or seed production.
Summary
Potato cultivation requires well-prepared, loose soil with a slightly acidic pH, proper planting timing, and careful attention to fertilization and disease prevention. Regular hilling, monitoring for pests like the Colorado beetle, and choosing the right harvest time are key to a successful crop.